

 See My Latest Article on HelloNation
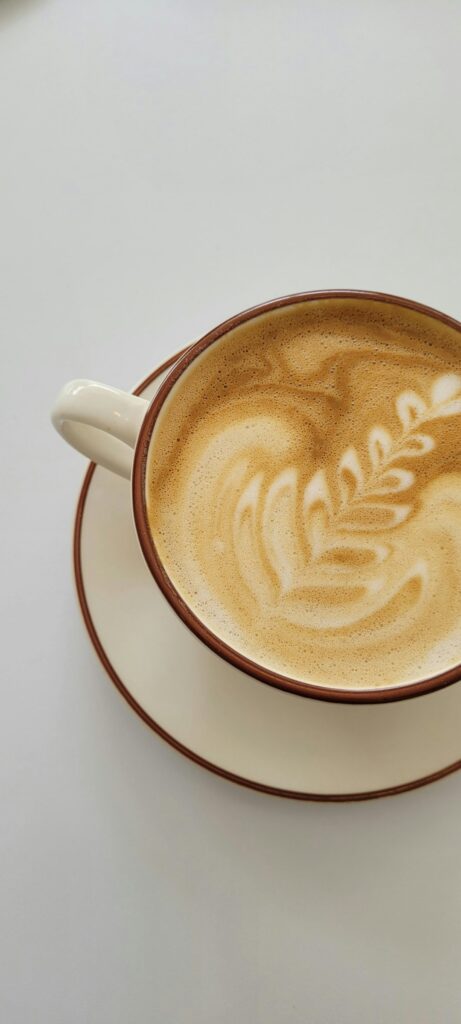
What Tools Do Residents Need to Create Latte Art at Home?
Most latte art seen in cafes can be attempted with a handful of common kitchen items. The essential tools for home practice are:
- An espresso machine or stovetop espresso maker
- A basic milk frothing pitcher (preferably stainless steel with a spout for pouring)
- Fresh, cold milk (whole milk creates the best texture, though alternatives are possible)
- A sturdy coffee mug
Electric milk frothers can work for beginners, but a steam wand tied to an espresso machine offers the most control for texturing milk. Households without an espresso machine can still experiment with strongly brewed coffee and a handheld frother, though achieving true microfoam—a key ingredient in latte art—may be more challenging.
How Does Local Water Quality and Climate Affect Homemade Latte Art?
Both Ridgeland's water quality and the area's warm, humid climate can influence coffee and milk texturing outcomes. Tap water high in minerals, common throughout the region, might subtly shift flavors and impact consistency when steaming milk. Using filtered water can help provide a more neutral taste and better foam stability.
High humidity, typical for much of the year, can also affect milk frothing by making steamed milk break down faster, especially if left to sit. For best results, keep milk in the fridge until immediately ready to use, and work quickly once it’s textured to maintain the right foam.
What Is Microfoam, and Why Is It Essential for Simple Latte Art?
To create patterns like hearts or “rosettas,” home baristas need milk with a glossy, paint-like texture known as microfoam. True microfoam is made of tiny, uniform milk bubbles not visible to the eye.
For practical success:
- Start with cold, fresh milk in the pitcher
- Submerge the steam wand tip just below the surface—this draws in air for a moment, then fully immerse and position at a slight angle to swirl the milk
- Aim for a smooth, silky finish free of large bubbles
A common misconception is that more foam or extra froth improves latte art. In reality, dense, thick froth is harder to pour and doesn’t blend with the coffee to make clear patterns.
What Are Easy First Pattern Techniques for Area Households?
Beginners in the community can achieve visual designs with no prior latte art experience. The simplest patterns to begin with are the “heart” and the “blob” (a classic big dot). Here’s how to try them:
- Steady Pour: Hold your mug at a slight angle and begin pouring slowly in the center of the espresso
- Height: Start pouring from 2–3 inches above the cup to break through the crema, then bring the pitcher close to the surface as the cup fills
- Shape: For a heart, gently wiggle the pitcher as you pour, finishing with a quick pull through the center
- Dot Art: If designs seem difficult, aiming for a solid circle allows for practice with milk texture and pour control
These basic techniques train your hand and eye for balance, a critical part of more advanced artwork.
Can Any Type of Milk Be Used?
While dairy milk (especially whole milk) gives the easiest results, many area households use plant-based alternatives. Almond, oat, and soy milks found at local groceries can produce a form of microfoam, but may require specific “barista” versions for best texture.
- Whole milk: Glossy, stable microfoam, easy for beginners
- 2%/skim: Lighter but still workable, less stable for patterns
- Oat/almond/soy: Possible with practice—barista varieties froth much better
- Avoid ultra-pasteurized or UHT milk for best results, as these often lose stretchiness
Let milk settle for a second after steaming before pouring. This evens out the foam and prevents big bubbles from disrupting your art.
How Much Practice Does It Take to Get Results?
Most local residents trying latte art at home see steady improvement within a few weekends. While artistic mastery takes months, recognizable shapes—mostly hearts and circles—are possible in just a few attempts. Consider these practical tips:

- Always start with good milk texture; that matters more than artistic skill at first
- Try different sized cups for more or less space to draw
- Watch for temperature: overheated milk loses sweetness and becomes harder to pour
- Practice with just milk and water in your pitcher to build muscle memory before pouring into real espresso
Mistakes are normal—experienced home coffee makers often swirl their art into the drink anyway.
Are There Safety Concerns with Steam Wands and Hot Milk?
Basic kitchen caution is recommended when using espresso machines or any device producing steam. Steam wand tips can cause burns if touched while hot. Always use the handle or insulated pitcher and never leave young children unsupervised when equipment is running. Let equipment cool fully before cleaning or handling parts.
Why Does Latte Art Sometimes Fail at Home?
Common reasons for disappointing results include:
- Steaming milk too hot (should be about 140–150°F, warm but not scalding)
- Large or uneven bubbles in milk from improper frothing technique
- Pouring too slowly or from too high above the surface
- Using old or overly processed milk
Local residents sometimes try to rush steps, especially when learning before work or brunch. Slow down and focus on one variable—such as milk temperature, pitcher angle, or pouring speed—each time.
Are Extra Tools like Stencils or Etching Sticks Needed?
Standard home equipment is sufficient for most patterns. Stencils and thin sticks can help draw shapes on top of the foam, but these aren’t required for classic latte art styles. For those who enjoy decorating, dustings of cocoa or cinnamon can add visual flair with minimal equipment. For residents with local allergies or sensitivities to scents, avoid flavor powders if breathing concerns exist.
Can Latte Art Be Learned Without an Espresso Machine?
It’s possible—but not as simple. Those without an espresso machine can:
- Use strongly brewed coffee or concentrated Aeropress shots as the base
- Froth milk using a French press, manual frother, or electric whisk until it achieves a silky, microfoam-like texture
Patterns poured into brewed coffee will be lighter and less defined than with authentic espresso and steamed milk, but practicing pour control and milk texturing remains valuable.